Digipack
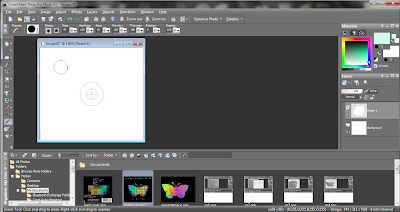
This was my initial idea, but I decided to do something different:
Here is a butterfly I drew with a pencil:
Here is a butterfly I drew with a pencil:
When I was happy with it I traced it with a black pen so that it comes out when I scan it:
Instead of scanning it I took a picture of the drawing and uploaded on my computer:
I then resized it smaller:
I then erased the grey background:
...This was my result:
I then added a new raster layer:
...I set the blend mode to saturation:
This is what I got:
I then merged the layers:
Then I used the fill effect and painted the background black:
This is what I got when i got rid of the green spaces:
Then I sharpened the image:
I made the butterfly smaller so that I could have more space for text:
I then went on effects - texture effects- tile:
...I played around with the tile effects until I was happy:
Then I changed the colour slightly:
The front cover went through these stages:
And this is how it turned out in the end:
This is the back of the digipack. The pixelated thing in the background is supposed to be the same image of the butterfly on the cover, but more pixelated. I was inspired to do this 3d effect idea from Kanye West's album ' Graduation', which i analysed earlier.
To make the inside right part of the digipack( where the disk goes), I pasted the digipack template on my image to guide me:
I then erased the irrelevant bits:
I then made the image negative by going on image - negative image:
I then started to design it by duplicating the same text:
Here is my final result which was inspired my No Doubt's album cover. Notice how the font matches the font on the front cover:
And finally, here is the last part of my digipack. I used images from the music video to make a collage, and the colour scheme fitted the rest of the digipack:


No comments:
Post a Comment